Introduction
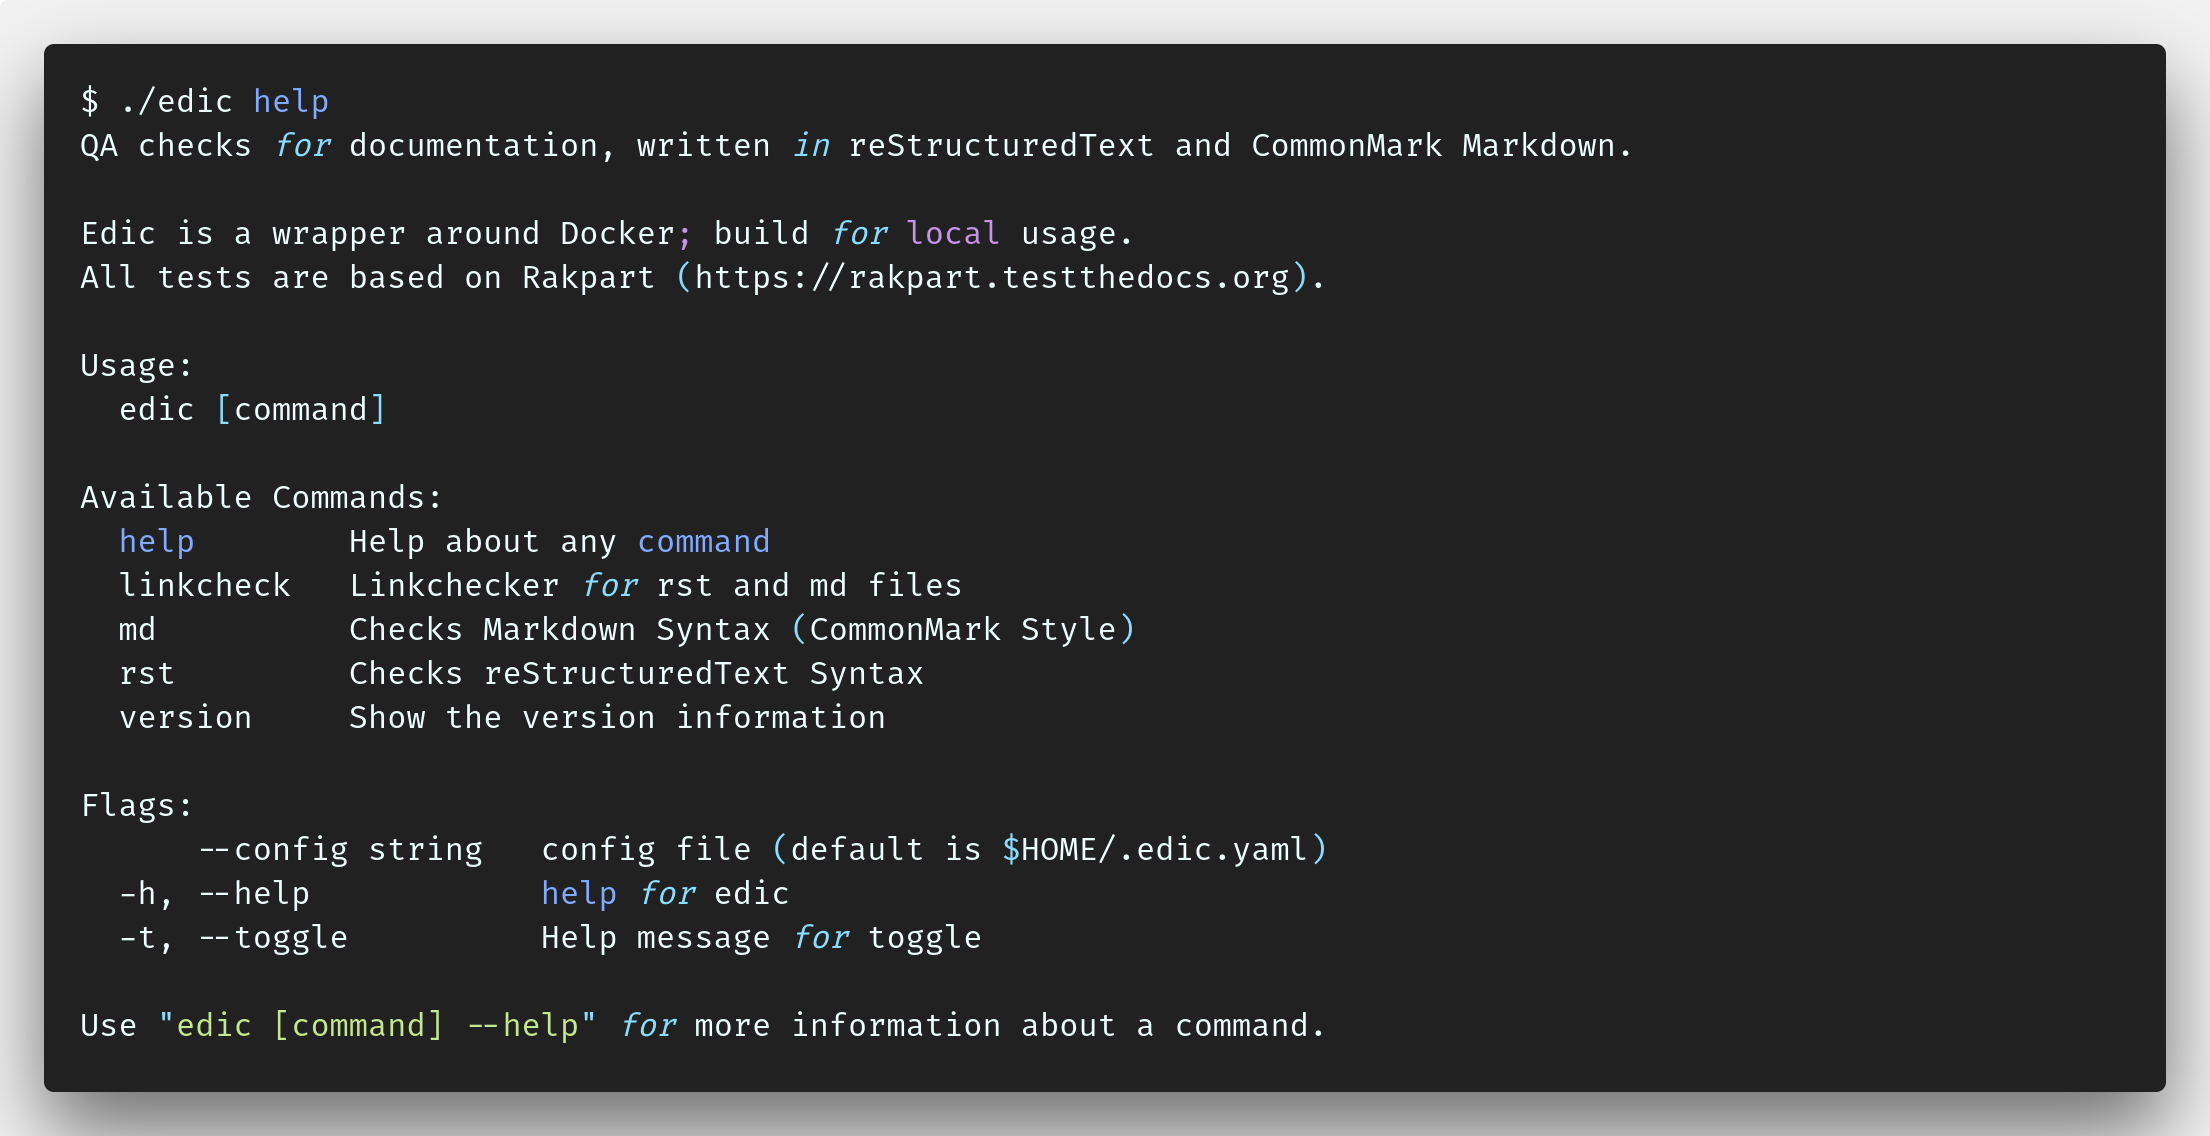
Edic (Editor In Chief) is QA tool for documentation, written in reStructuredText and CommonMark Markdown.
Edic is a wrapper around Docker; build for local usage.
Besides using a well configured editor, sometimes you want to run QA checks against your (whole) documentation.
Doing so, will provide important insights about the status or your docs.
This should be as effortless as possible.
Edic is born out of this need.
Be able to run the same checks locally and on CI, using the same configuration, without having a hard time to remember long command line syntaxes.

All checks are based on Rakpart, which is also used in CI.
✅
Dependencies
Please make sure that you have the following dependencies installed:
Manage Docker As A Non-root User
The Docker daemon binds to a Unix socket instead of a TCP port. By default that Unix socket is owned by the user root and other users can only access it using sudo.
The Docker daemon always runs as the root user.
If you do not want to preface the docker command with sudo, create a Unix group called docker and add users to it. When the Docker daemon starts, it creates a Unix socket accessible by members of the docker group.
Install
You do not need to install Go to enjoy Edic. Grab a precompiled binary!
Edic is written in Go with support for multiple platforms. The latest release can be found at Edic Releases.
Binary (Cross-platform)
Step 1: Decide On The Location
When installing the binary, you have to decide if you’re going to install the binary in /usr/local/bin or in your home directory.
Install it in
/usr/local/binso that all the users on your system have access to it. This is a good idea because it’s a fairly standard place for runnable applications. The downside is that you may need elevated privileges to put software into that location. Also, if there are multiple users on your system, they will all run the same version. Sometimes this can be an issue if you want to try out a new releaseInstall it in
~/binso that only you can run it. This is a good idea because it’s easy to do, easy to maintain, and doesn’t require elevated privileges. The downside is that only you can run Edic. If there are other users on your site, they have to maintain their own copies. That can lead to people running different versions. Of course, this does make it easier for you to experiment with different releases.
Step 2: Download the Binary
Download the appropriate version for your platform from the releases page.
By default, the binary will be saved to your ~/Downloads directory.
If you choose to use a different location, you will need to change that in the following steps.
The name will be something like edic_darwin_amd64 (macOS).
Step 3: Install It.
For this example we will install the binary into ~/bin so that only you can run it.
# Create the directory if needed
mkdir -p ~/bin

# Make it the working directory
cd ~/bin

# Copy the binary into place
cp ~/Downloads/edic_darwin_amd64 .

# Rename the binary to edic
mv edic_darwin_amd64 edic

# Make it 'runnable'
chmod +x edic

# Verify that it runs, you should see something like below

./edic version

Version: v0.0.3
Build Date: 2019-03-11
Git Commit: 8d3c8e3
OS: linux
Arch: amd64
You may need to add your bin directory to your PATH variable.
The which command will check for us.
If it can find Edic, it will print the full path to it.
Otherwise, it will not print anything.
# check if edic is in the path
which edic
/Users/USERNAME/bin/edic
If edic is not in your PATH, add it by updating your ~/.bash_profile file.
First, start up an editor:
nano ~/.bash_profileAdd a line to update your PATH variable:
export PATH=$PATH:$HOME/binThen save the file by pressing Control-X, then Y to save the file and return to the prompt.
Close the terminal and open a new terminal to pick up the changes to your profile.
Verify your success by running the which edic command again.
You’ve successfully installed Edic.
Fetch from GitHub
Note this method is only suited for more seasoned user and/or people who work with Go on a daily basis. The binary install should be enough for most people !
Prerequisite Tools
go get github.com/testthedocs/edicCompiling From Source
Note this method is only suited for more seasoned user and/or people who work with Go on a daily basis. The binary install should be enough for most people !
Prerequisite Tools
git clone https://github.com/testthedocs/edic.git
cd edic
make install
After that, the edic binary will be in your $GOBIN folder.

Checks
Edic uses Rakpart checks.
Markdown
Markdown code style linter for CommonMark.
From in your docs directory:
edic md
- remark-lint documentation on Rakpart.
Linkcheck
Link validation for .md and .rst files.
Per default links to 127.0.0.1 and localhost are ignored.
From in your docs directory:
edic linkcheck
- Linkcheck docs on Rakpart.
reStructuredText
A opinionated style checker for rst based documentation.
From in your docs directory:
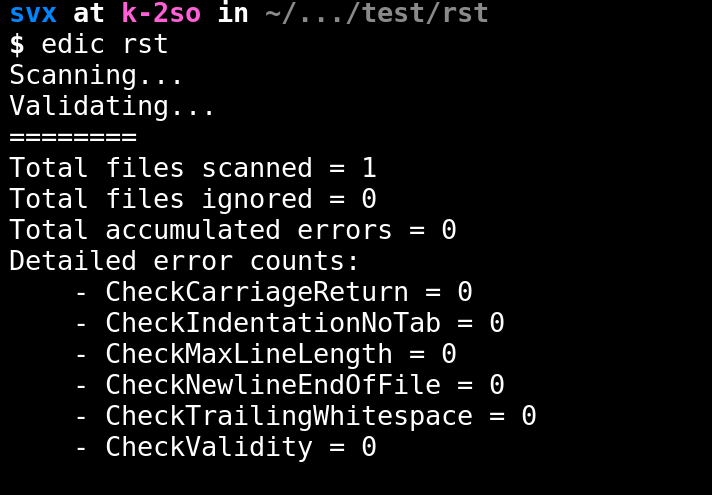
edic rstDefault Settings
- Invalid rst format -
D000 - Lines should not be longer than 180 characters -
D001- RST exception: line with no whitespace except in the beginning
- RST exception: lines with http or https urls
- RST exception: literal blocks
- RST exception: rst target directives
- No trailing whitespace -
D002 - No tabulation for indentation -
D003 - No carriage returns (use unix newlines) -
D004 - No newline at end of file -
D005

- reST docs on Rakpart.
Configuration
There is currently no way to use your own configuration settings for checks !
This feature is on the roadmap and planned for a future release !
Contributing
Reference points about contributing and developing.
Dependencies
Release Process
We use gox in combination with ghr.
Follow the steps below to make a new release!
Release Notes
Write release notes and save them in the directory release-notes.
We use as naming scheme the version number, that means the release notes for version 0.0.2 are under /release-notes/0.0.2.md.
GitHub API Token
To use ghr, you need to get a GitHub token with an account which has enough permissions to create releases.
To get token, first, visit GitHub account settings page, then go to Applications for the user.
Here you can create a token in the Personal access tokens section. For a private repository you need repo scope and for a public repository you need public_repo scope.
When using ghr, you can set it via the “GITHUB_TOKEN” env var, -token command line option or github.token property in .gitconfig file.
We use a .env file which is ignored by git, check the Makefile for more information.
Version
Update the VERSION file with the version number you want to release.
Now make sure your branch is clean and you have no uncommitted files or changes.
Release
Run make release to create and upload the binaries to GitHub.
Commit Changes
Commit and push the new created install.sh to GitHub.
Credits
Original Gophers drawn by Ashley McNamara, unique Edic Gopher produced with Gopherize.me.
Thank you !
Links
- Follow the progress on the GitHub repository
- Follow @testthedocs on Twitter for updates